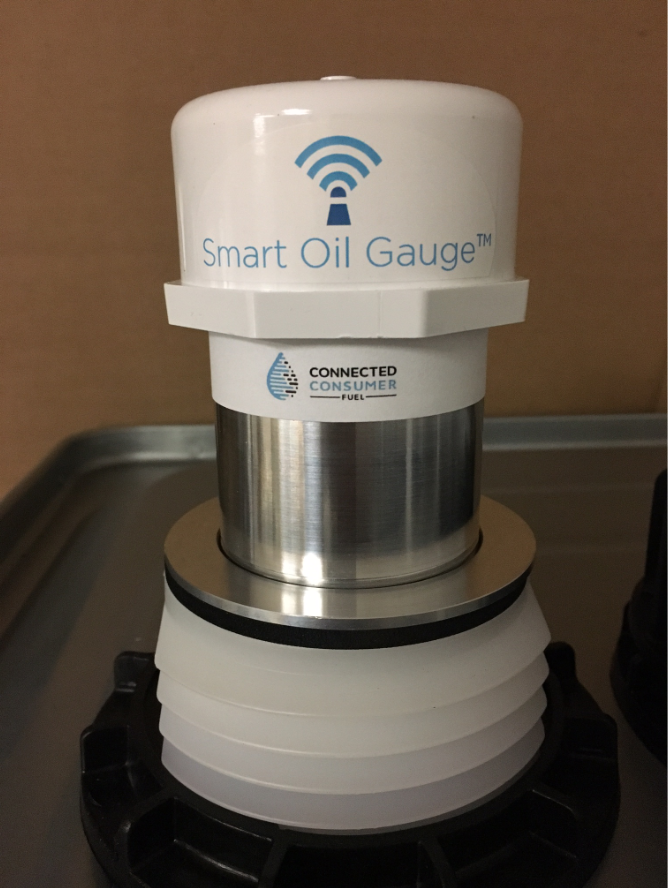
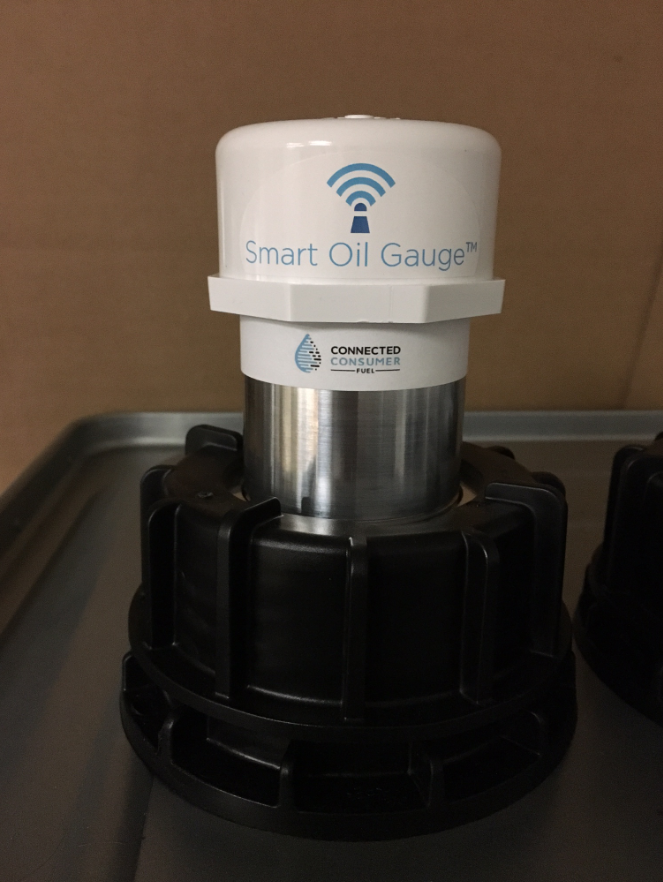
Installation on a Roth DWT Tank Using the Roth Adapter
Installing a Smart Oil Gauge on a Roth tank is very straightforward. You will need
- One Smart Oil Gauge
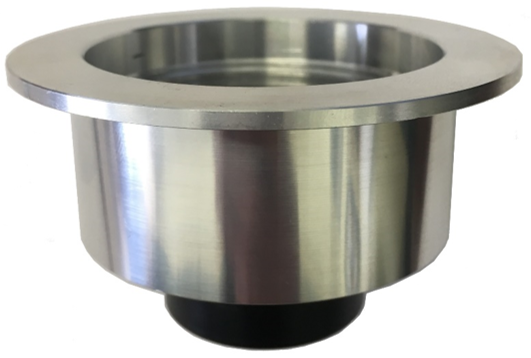
- One Roth Adapter (CCF-906) - available in our shop here
- Rubber gloves (for removing the existing gauge)
- Ziploc bag (for storing the existing gauge)
On a Roth DWT tank, the oil feed lines come from the top of the tank, so there will not be an extra opening available for the Smart Oil Gauge. As such, the existing float gauge will have to be removed from the tank in order to install the Smart Oil Gauge.
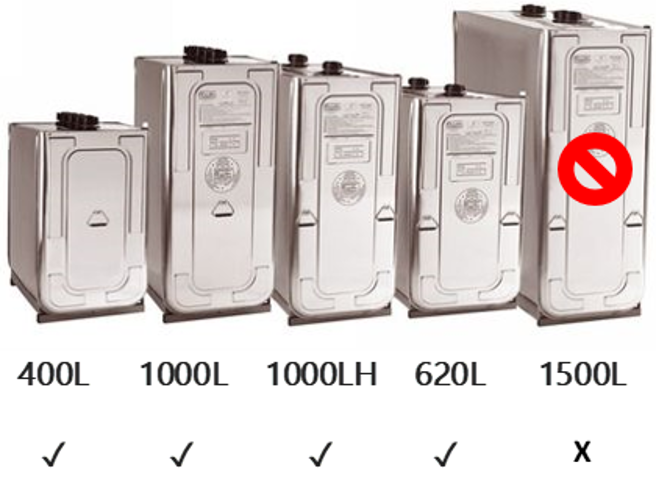
Note: The Smart Oil Gauge is not compatible with the Roth 1500L. The reason for this is that the 1500L features an internal support baffle that keeps the walls from bowing out when the tank is full. The ultrasonic sensor will see this baffle, and not be able to detect the oil level beneath that point.
Instructions
1. Look at the exploded view of the Roth adapter below to understand how the assembly goes together. Remove the existing float gauge, leaving the #3 gasket in place.
2. Hand-tighten the Smart Oil Gauge into the adapter until the internal gasket is slightly compressed. DO NOT use Teflon tape or pipe dope on the Smart Oil Gauge threads; the gasket will create the seal between the Smart Oil Gauge and the adapter.
3. Place the assembly on the #3 gasket as shown, remove the white cap, and hand-tighten the black cap nut to secure the assembly in place. Reinstall the white cap, and you are good to go!